
Debugging with Mozilla rr project and GoLand
Debuggers. Traditionally they are used to find complex bugs and reason about how they happen. But what if you cannot explain why some changes happen between steps? This is where a classic debugger would fail to help you as they usually allow you to only move forward with the execution.
While you can use core dumps, as we’ve seen in the previous article, they do not always tell you the full story of what’s going on in your application.
Enter reversible debuggers. These debuggers allow you not only to step forward in execution, but also go back and effectively undo all the operations between steps.
Delve, the Go debugger, has support for such functionality by using Mozilla’s rr project. From the description of the rr project, its mission is to allow the “replay the failing execution repeatedly under a debugger until it has been completely understood”.
Let’s see this in action.
First, there are some strict limitations of where rr can run,
which is only on Linux. That plus some other restrictions in place,
does affect its usefulness.
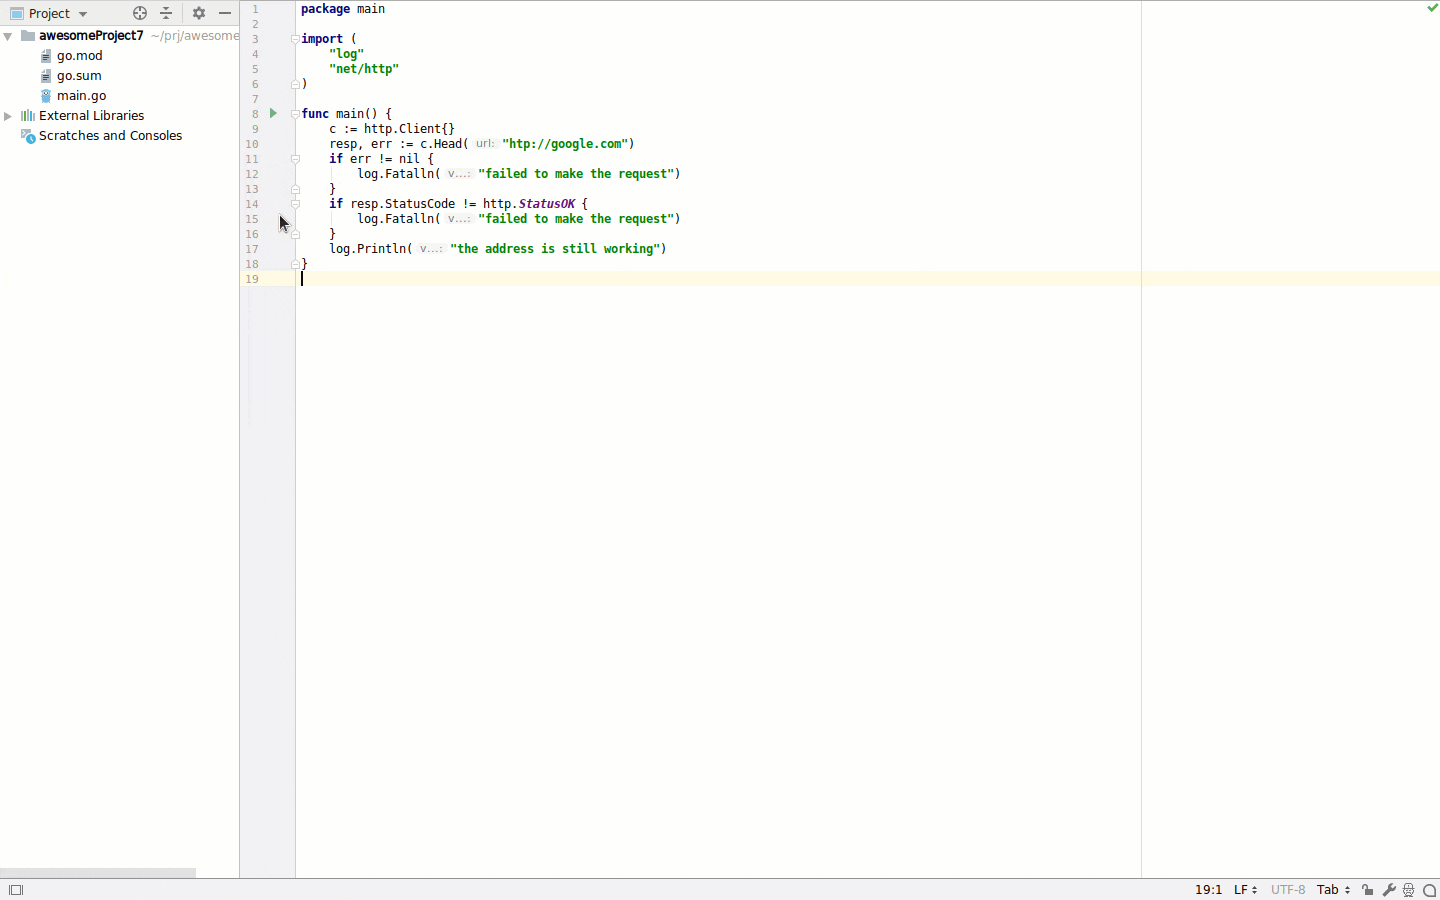
With this out of the way, let’s jump into the code. I’m going to use a simple application to demonstrate these features.
|
|
If we run this, it will print “failed to make the request”.
After installing rr, make sure that you run the configuration needed in order to get rr running:
1 2 |
echo -1 | sudo tee -a /proc/sys/kernel/perf_event_paranoid echo 0 | sudo tee -a /proc/sys/kernel/kptr_restrict |
These settings are not permanent, and you need to apply them again if you reboot the machine.
Let’s start the actual debugging of the application now.
I’ll use GoLand to run Delve and rr. That way I can have this running in a couple of clicks, and see the source as well as the variables/memory contents as I execute the debugging steps and try to understand what’s going on.
After we create the project, we click on the left side of the editor window to set a breakpoint, then click the green arrow next to the “main” function, and select “Record and Debug…” option. This will launch the required compile step and then the debugger using the rr backend.
After the debugger stops at our breakpoint, we can now go back in
execution. Due to the way the rr project works, we need first to place
a second breakpoint at a previous statement and then use the “Rewind”
button. Now, we can use the regular commands such as “Step into”,
“Step over”, or we can evaluate expressions using the “Evaluate”
functionality.
As we continue to debug the application, we can place more breakpoints
along the way to either speed up debugging by jumping over known good
areas, or jumping back to last known good portions of the code.
Here’s a short movie of the debugger in action:
I hope that this post will help you discover a new, powerful tool to
have under your toolbelt which can speed up finding and fixing bugs in
your applications.
And don’t forget to go to Delve’s repository, star it, and maybe even
contribute back to this awesome project.
If you have any comments or would like to learn more about this, please use the comments section below, or reach out to me on Twitter @dlsniper.